
A4Y Postnatal — Awareness + Activation
Being on the other side of pregnancy and childbirth can be an exciting time for reclaiming your body, your fitness, and your sports. But too much, too fast risks setting you back at a time when your health and wellbeing is more important than ever.
While conventional advice is that you can resume exercise six weeks postpartum, keep in mind that those recs are incredibly arbitrary and don’t account for your unique birth, how much sleep you’re getting, available support, etc. When you start to have the energy to exercise and actually feel like doing it — needless to say this is different for every woman, try not to set a rigid timeline for when you need to get back to whatever your sport is — a great place to start is to seek support from a physical therapist who specializes in women’s health. I designed this routine with support from my PT (if you’re in London see The Maternity Physio, she’s brill!) in the context of my goal to ease back into running in a sustainable way after having my second baby. I started doing these practices around eight weeks postpartum only after I’d had a thorough postnatal assessment including internal examination of my pelvic floor — the integral hammock of muscles that support your reproductive organs, bladder, and more — function. This information armed me with the awareness to execute the exercises properly and ongoing check ins with my PT has helped me progress in a tangible way. I highly recommend seeking this kind of support before you begin any kind of post-baby exercise, regardless of what kind of birth you’ve had.
Use this routine to help you become more aware of and activate your foundation so that you can effectively rebuild it from the inside out — improve and strengthen your pelvic floor function, ease lingering strain and tension from the demands of pregnancy and caring for your baby, and move toward balance.
For starters, aim to do the full routine 3–4 times per week for a month, and do the Lateral Breathing + Pelvic Floor Activation exercises daily. During a time when I’ve found it nearly impossible to get anything done (baby Theo is 4 months now), its been pretty manageable to get through these moves even with baby occupying half my yoga mat...
Awareness + Activation
Hips back

Being pregnant commonly brings the hips forward, as if you’re literally leaning your pelvis forward while the rest of you hangs back, due to the size and weight of your belly. This postural imbalance tends to continue once baby is out and you’re carrying them around. All your systems, especially those critical for running and any kind of exercise — pelvic floor, glutes, and more — cannot function properly when aligned in this way. Use this quick self-check ongoing to become more aware of your alignment and intentionally move toward a more optimal, functionally sound stance:
Are you leaning forward? Can you feel your glutes? How is your weight distributed on your feet?
Take your hips back in space — align your pelvis under your rib cage so that your ankles/knees/hips/pelvis/ribcage are all stacked in alignment.
Feel your glutes gently activate. If that’s elusive, try distributing a little bit more of your weight back toward your heels.
Do this simple check + correct whenever you catch yourself standing in stillness and with time your body will naturally default to this more optimal neutral alignment.
Lateral Breathing

Activating the full range of your diaphragm — the muscle of breathing that lives just below your lungs — will help to ensure optimal functioning and help mitigate the pre-and post-natal tendency to flare the ribs forward. Once you’re comfortable with this technique you’ll also be ready to more effectively connect and coordinate your diaphragm to your pelvic floor so that they can work together in an integrated, fluid way.
Lie down, knees bent, feet on the floor.
Bring your hands to your lower rib cage.
Inhale — expand your lungs and rib cage horizontally (rather than forward/up) — you should feel your ribs moving left/right into your hands.
Exhale — relax to the start (rather than squeezing your ribs toward each other or engaging/gripping your abs).
Continue for 10 deep breaths.
Pelvic Floor Activation
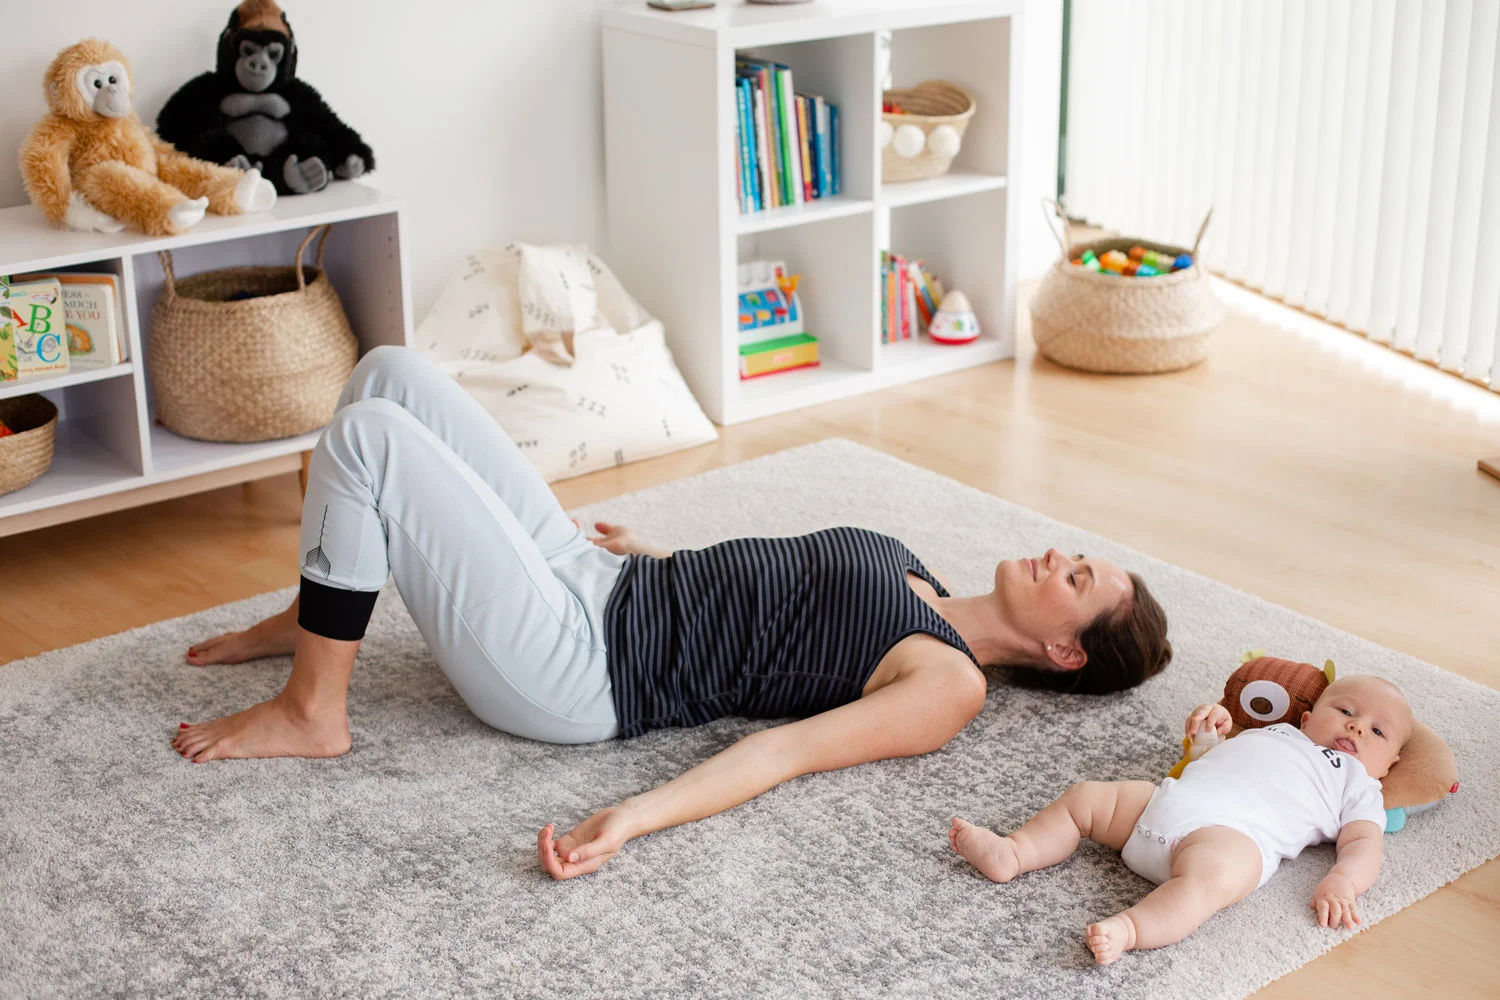
Kegels are the most recommended exercise for strengthening your pelvic floor but keep in mind that tighter isn’t stronger. Rather than squeezing your pelvic floor as tight as you can, instead focus on smooth, even engagement and then release — engage fully and then relax completely so that you can access the full range of these integral muscles. A women’s health PT can help to assess any imbalances in your pelvic floor to help ensure optimal activation and, ultimately, strength and function — get feedback if you’re unsure of how you’re doing!
Lie down, knees bent, feet on the floor.
Bring your hands to your lower rib cage or open your arms to the floor, palms up.
Inhale — expand your lungs and rib cage horizontally.
Exhale — Engage your pelvic floor:
Squeeze the back of your vagina, then the sides, then the front, as if you’re slowly closing the opening from back to front.
Feel for smooth, even engagement.
If any area feels more difficult to engage, slow down and bring more attention there. - Avoid tensing or gripping your abdominals or squeezing your glutes while you do this.
Inhale — release your pelvic floor completely as you expand your lungs and rib cage horizontally.
Exhale — engage your pelvic floor.
Continue for 10 deep breaths, focusing on engaging your pelvic floor fully, and then relaxing it completely.
Ball Squeeze
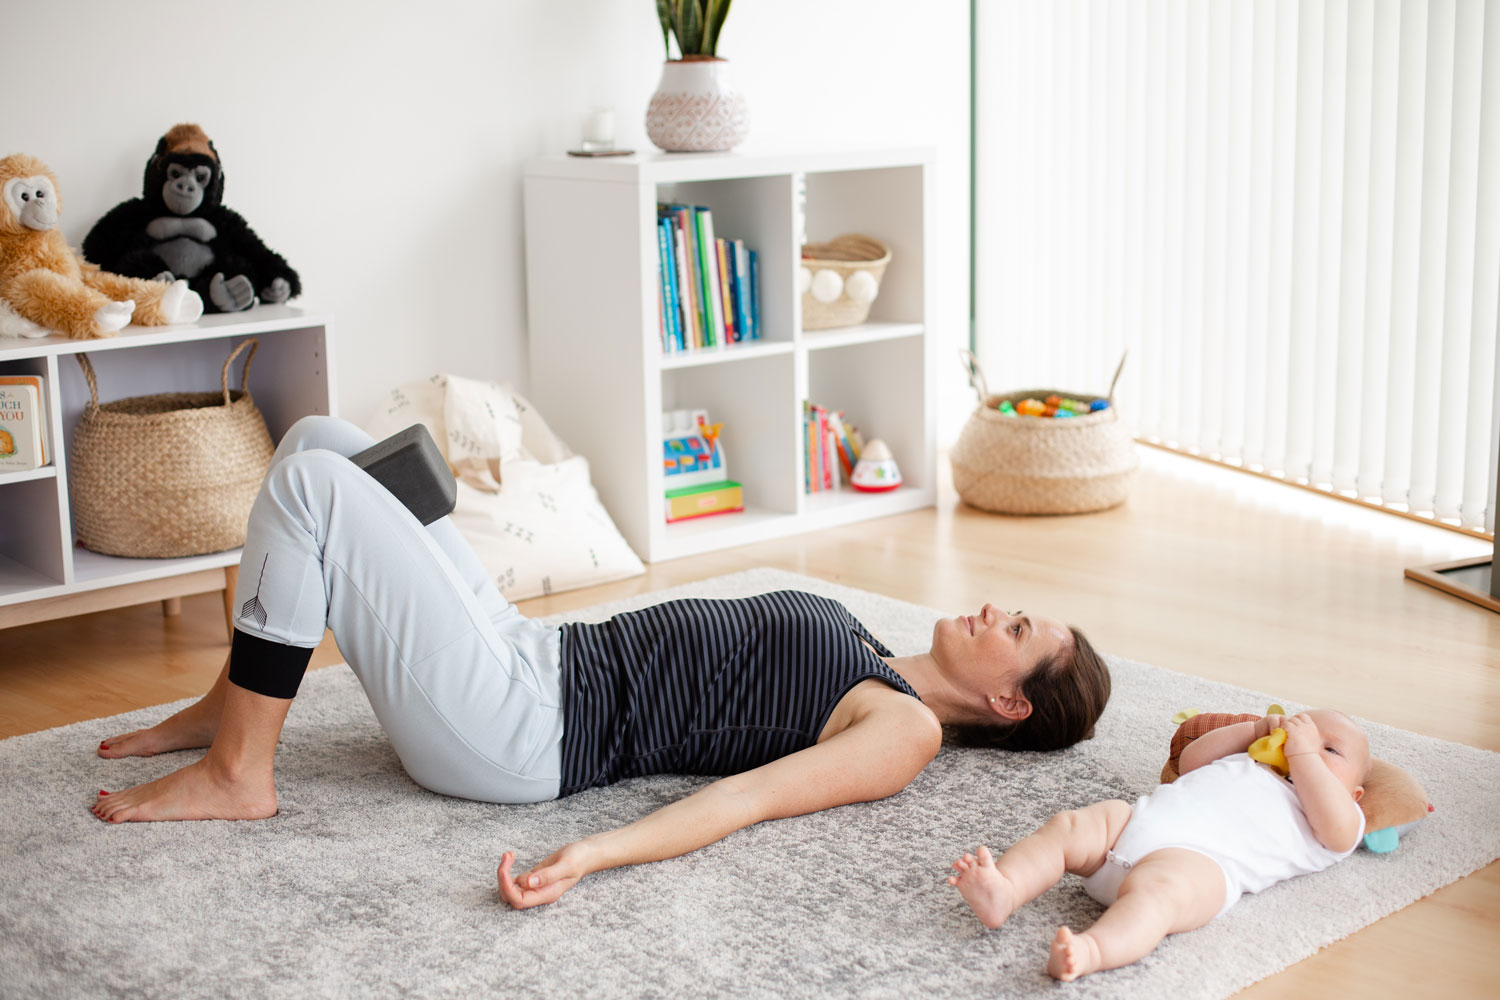
Once you’ve activated your pelvic floor and explored connecting your breathing to that activation, add on with more dynamic activation — get your adductors (inner thighs) involved via a simple ball squeeze and feel for the connection between breath, pelvic floor, and adductors. You might start to feel your deep abdominals start to switch on too, which is great — just be sure not to grip through the abs or build pressure through your abdomen.
Lie on your back, knees bent and feet hip width apart.
Place a ball or block between your thighs.
Inhale — expand your ribcage horizontally.
Exhale — slowly engage your pelvic floor first, and then gently squeeze your prop.
Inhale — release.
Exhale — repeat.
Continue for 10 reps — focus on steady, coordinated engagement from your pelvic floor to your adductors (inner thighs) and engaging fully/relaxing completely.
Bridge

Wake up your glutes to reduce excess strain on your pelvis. This is a great way to activate the boss of your “push off” to ensure you’re powering your stride from the right place. Again, think about layering the glute firing on top of the connection you’ve established between your diaphragm and pelvic floor.
Lie on your back with your knees bent, feet hip width apart.
Lengthen your arms along your sides, palms up.
Inhale — expand your ribcage horizontally.
Exhale — slowly engage your pelvic floor first, then press down evenly through both feet and lift your hips up.
Inhale — release your pelvic floor and relax your glutes as you return to the start.
Exhale — repeat.
Continue for 10 reps.
Figure 4
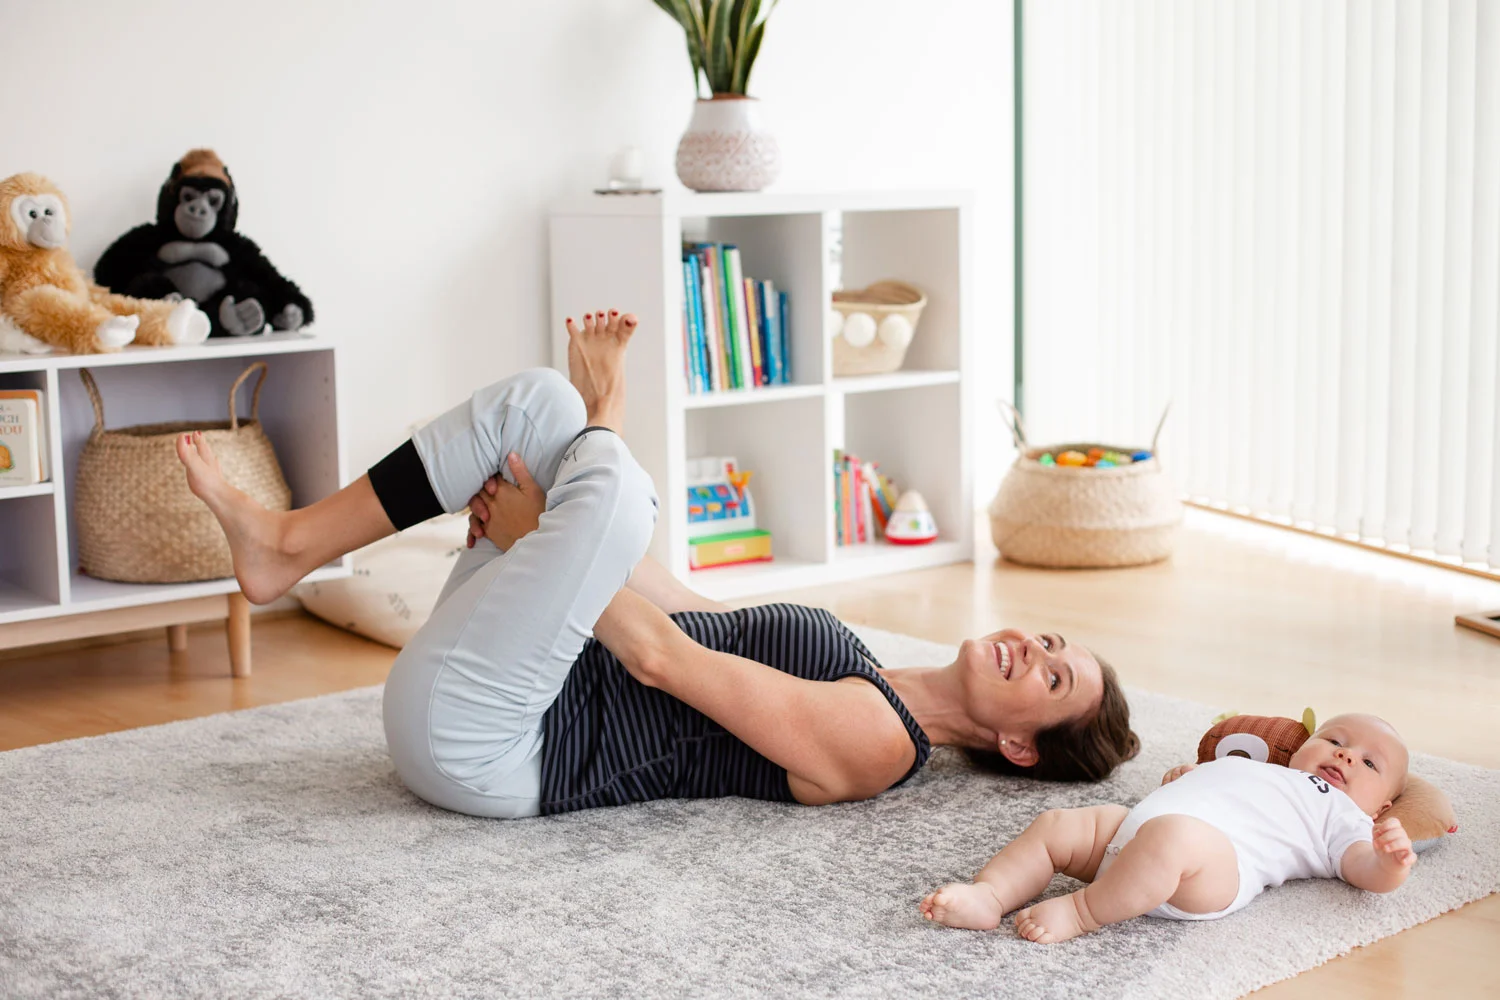
Be sure to balance your glutes activation with maintaining fluidity through your hips so that you can access an optimal range of motion.
Cross one ankle over the opposite knee, keeping the foot flexed.
Stay here or pick your legs up, interlacing your fingers around your bottom leg hamstrings or shin.
Make sure both sides of your waist are even — if you feel your spine start to side bend, slide the foot that’s on the floor farther away from your body until you can level your hips and maintain a neutral spine.
Add a little rock side to side. It’s small. Notice how the stretch changes as you change the angles. Use that small movement to encourage more fluidity around the hip joint.
Child’s Pose

This stretch is queen for stretching and releasing the pelvic floor, not to mention easing tension overall. Remember the importance of engaging fully and then relaxing completely — this stretch can help you accomplish the latter.
Kneel with your legs hip-width apart, keeping your shins parallel.
Lengthen your torso down onto your thighs.
Reach your arms forward, palms down, or rest them back along your sides, palms up.
Rest your forehead on the floor or a block.
Stay for 10 deep breaths — focus on breathing all the way down into your pelvis.
Breathe Over Bolster

Your pregnant belly and then the demands of constantly carrying/feeding your baby with tighten your chest and round your shoulders forward. The resulting forward hunched posture limits your breath capacity, strains your back, and drains your energy. Use this move to re-establish the space across your chest and relax deeply.
Sit down, pull a bolster lengthwise against your butt, and bring the soles of your feet together or straighten your legs.
Lie back over the prop, keeping your butt on the floor.
Rest your arms open, palms up.
Stay for 10+ deep breaths — focus on re-establishing space across your chest with your breathing and the lift from the prop beneath you.
If you’re feeling ready to start doing more yoga The Yoga for Mamas Collection, including Yoga for Pregnant Athletes, is home to 12 routines that are great postnatal.
Let us know how it goes, mamas! Lead by example with #athletesforyoga
Pelvic Health Resources
Speak to your doctor and ask for a referral — and here’s a few resources for pelvic health and finding a qualified women’s health physical therapist: